Aperture settings
The exposure triangle
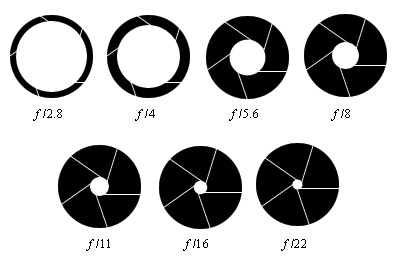
Aperture
Aperture is the size of the opening in the lens and it measured in f-stops.
Class Tasks
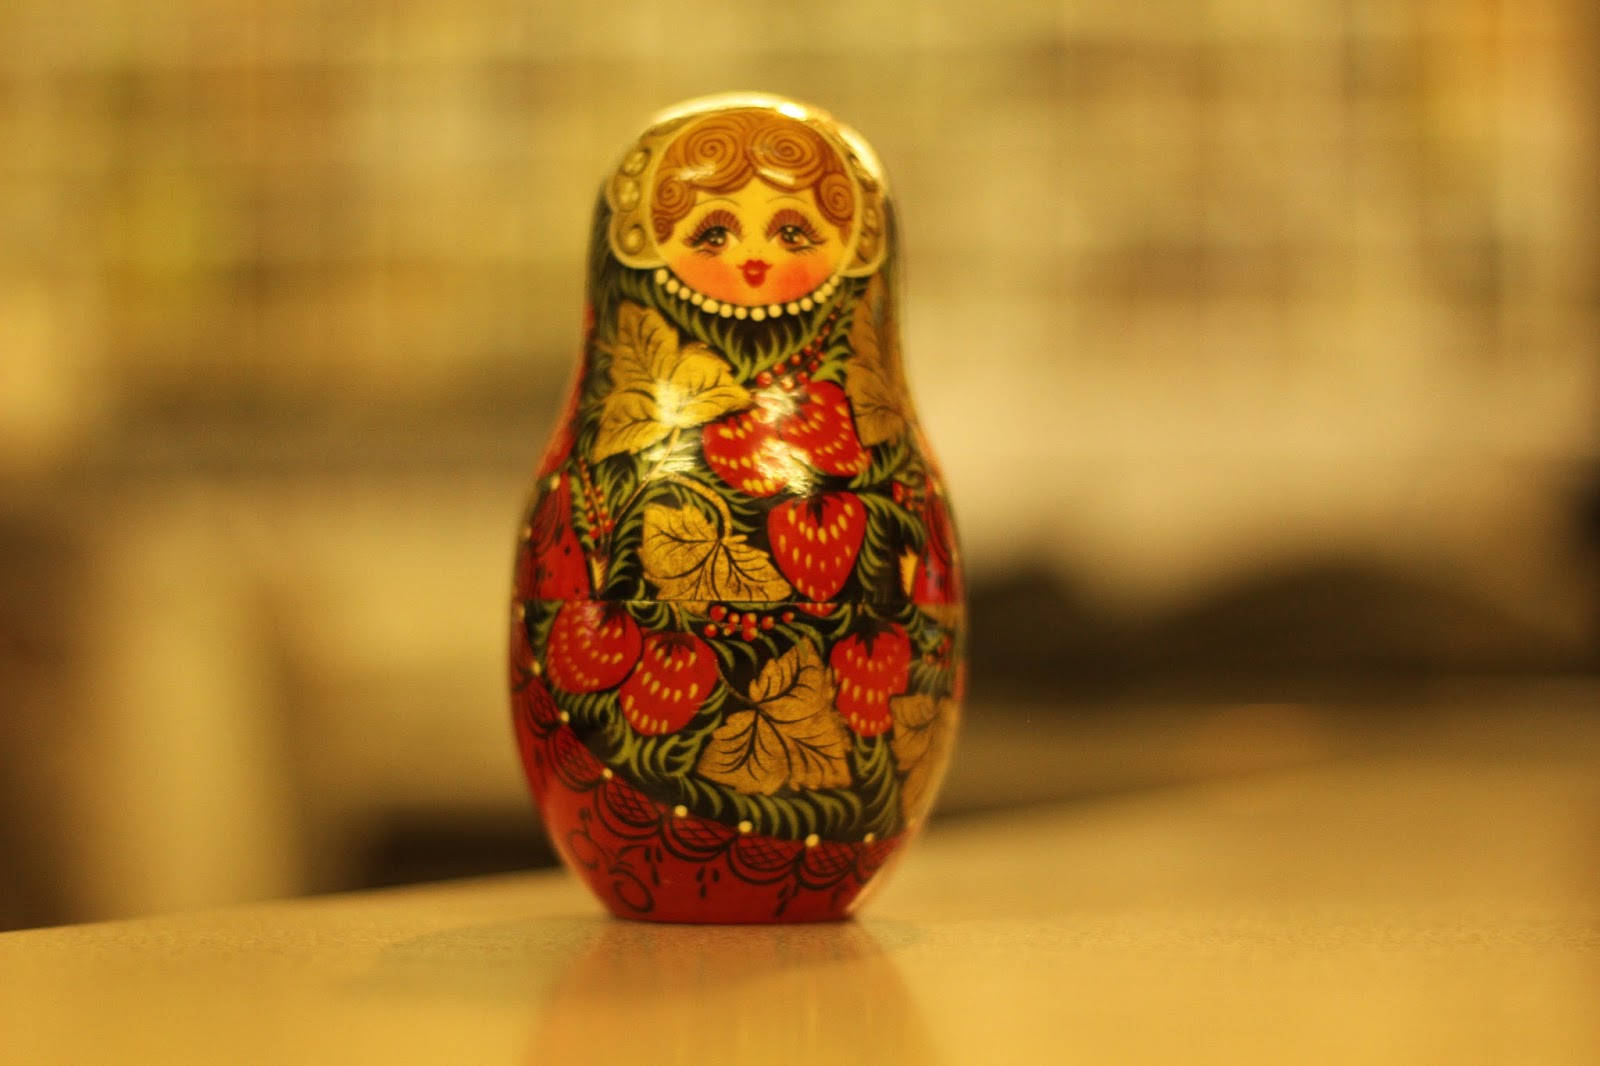
We did some experiments in the class to test the Aperture and my subject is the Russian Dolls.The objective of this exercise was to shoot the same object (Russian Dolls) four times with four different aperture settings.So that we could see how the images changes with different aperture settings.I put the camera on the table to make sure it's horizontal.
First of all,for this image I selected the manual setting which meant I had to make a decisions about all 3 settings.This included shutter Speed,Aperture and ISO.
This was my first try. I set the Aperture from f/1.8. This means the picture shows shallow depth of field because the background is blurry, it means the aperture was wide open,and our attention focus on the first Russian Doll.
In addition,I set 1/125 sec in shutter speed and which was a fairly fast shutter speed which means less light comes in and this compensates for a lot of light from the wide open aperture setting. 400 ISO is a very senscetive lighting,I use that because I was shooting indoor.
I took the Russian Dolls with 2.8 aperture and I didn't change the ISO setting and shutter speed.So the photo became darker.Also,the background was still had a shallow depth of field.
To take this photo,I used f/5.6 for aperture which had a shallow depth of field but not as strong as the two photos above because we can vaguely see there was a person in the background.I set 1/32 sec for Shutter speed,which is a slower shutter speed but allow in more light.This also means I had to avoid camera shake.
I didn't change the ISO and shutter speed but changed the aperture from f/5.6 to f/11.And the photo I took for Russian Dolls became darker.So I changed the ISO from 1000 to 2000 and shutter speed from 1/32 sec to 1/20 sec which were really low.
The photo didn't have shallow depth of field but we still can't see the people's face and background vaguely.
Finally,I set the aperture in f/22 and this meant the photo had a large depth of field.We can see the background clearly. Because the aperture was setting in f/22,therefore,I also set the shutter speed to 1/10 sec,which is the slowest shutter speed in this camera.I set the ISO to 5000 as well.
Shutter Speed
Shutter speed is the amount of time that the shutter is open.
Class Tasks
We went to outside during the day (low ISO) to take photos of moving object.When we took photos outside,we also took a tripod with us to avoid camera shake.
These were our first try with 1/20 sec,and we can't see the man really distinct during the running.We set the ISO in 100 because it was at day time and outside.
I changed the shutter speed to 1/400 sec which was a relatively slow shutter speed allows light come in and the photo became much distinct.We can see the runner when he was running.
Another set of photos of running when shutter speed was under 1/400 sec condition.
After taking photo of runners,we decided to take some other moving objects,so we took the camera to the side of road and took photos of moving cars.
The tripod can avoid camera shake when I set slower shutter speed.

I set the shutter speed to 1/25 sec, which was a slower shutter speed.The cars was not clear when they were moving.
After that I set the shutter speed to 1/12 sec and in these photos the moving cars became more fuzzy.
Finally I set the shutter speed to 1/2000 sec which was a fast shutter speed.It allow me to see the high speed moving cars clearly from the photos and it gave me a feeling about the cars was stopping there,they were not moving at all.
White Balance
The White Balance setting (WB) you choose will change the colour balance in your pictures, making it warmer or cooler depending on how the sort of light you’re shooting in affects things.
Using Auto White Balance is the simple option, but your camera’s White Balance presets give you more control over colour.
Class Tasks
First of all,in this task,I'm going to take photos indoor and outside,therefore I selected the manual setting and it allowed me to change the shutter speed and ISO to apply the suitable situation for indoor and outside.Next I took a photo of a white paper indoor and I selected the MF rather than AF.After that,I found white balance setting in the menu and I went to the custom white balance.I set the white paper which I took as the custom and finally I selected the custom in the Q button.
the piece of paper I took indoor
I changed MF to AF when I took the photo of Russian Doll and I set the aperture at f/1.8 when this camera setting is applied a lot of light is allowed in through the lens and as a result of this the image has a shallow depth of field and the background looks blurred which allow viewer attention attract by the main subject (Russian Dolls)
I set the shutter speed to 1/125 sec,which is a slower shutter speed but to allow in more light,moreover,I selected 800 for ISO and I think I'm this should be the best suitable value for indoor ISO.
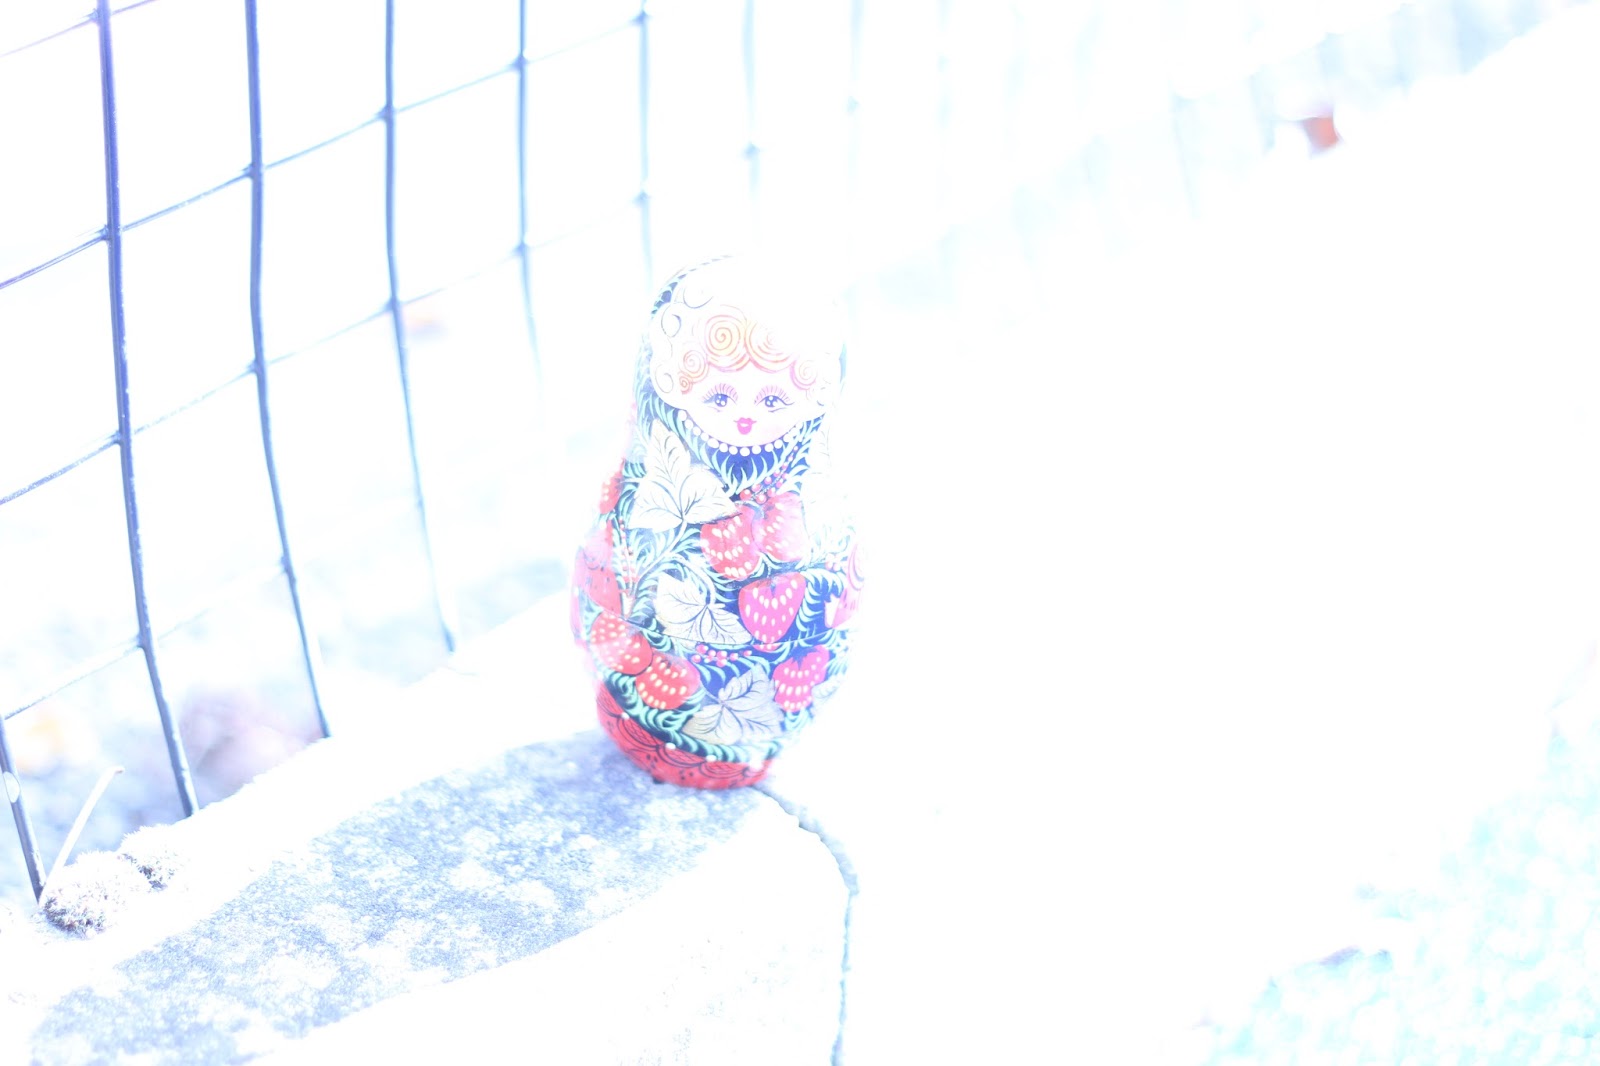
I used the same sitting indoor to take the Russian Doll outside and it shows the Russian Doll "disappeared" in the photo.
I changed the ISO from 800 to 100 but didn't change the shutter speed.

Therefore,I tried shutter speed with 1/2000sec ,1/4000sec ,1/6400sec.Which was a really fast shutter speed.
I changed the lens from AF to MF to take the white paper outside and set the white paper as customer white balance.After that I took more photos with the new outside custom white balance.
As a result,the photos became yellow.
I back into inside and took photos,and the photo just became completely black.The reason was because I hadn't change the sitting for outside to inside.
I changed the shutter speed to 1/160 sec which was a slow speed but it allow more light comes in and I changed the ISO back to 800 which I used before to take photos indoor.Finally,by comparing the photos between the custom balance indoor and outside,clearly,the photo with outside custom balance looks much yellow.
Still life images
Class Tasks
We had many objects and we arranged them on the table and organized the lighting for a dramatic still life image.I have tried a lot of photos.
The preparatory work
We set up a black background and arranged the position of the objects
We tried set the light from different angles and Choosed the best position for putting the light.

Got camera ready and set up the tripod.For this experiment,I selected the manual setting,which meant I had to make a decisions about 3 settings.This included Shutter Speed,Aperture and ISO.
This was my first try,I set the aperture to f/5.6,as a result it relatively showed shallow depth of field and the objects in the back looks a little bit blurred,which means I had to change the aperture.Secondly I think I need to change the shutter speed as well because 1/10 sec was a very slow shutter speed even it allow more light. Moreover,I think the ISO with 2500 was not suitable as well.
I took a set of photos and I didn't changed the shutter speed (1/10sec) and the ISO (800),I only changed the Aperture because I wanted to find out the most suitable aperture for my task.
As a result,in this set of photos,when the shutter speed and ISO didn't change,when the aperture increased,the photo became darker and darker.I tried the aperture f/4.0 , f/6.3 , f/8.0 , f/10 and f/13.Finally I choosed f/6.3 and I think it was the most suitable for my project.


I tried different value for ISO (800,1000,1250,1600,2500,3200,6400) to take the photos of same subject in the same position and with same shutter speed(1/10 sec) and same Aperture (f/6.3).I found out the best ISO for this task was 800 and I set the ISO to 800 to compensate for the relatively low light setting of the relatively narrow aperture setting.
So I decided to choose f/6.3 for my aperture and 800 for ISO.Next,I under this model,I took different photos with different white balance setting.
Auto
Daylight
Shade
Cloudy
Tungsten light
White fluorescent light
Flash
Custom
Colour temp
This is the photo which I was most pleased with.It was under my favourite condition (ISO 800,Shutter Speed 1/10 sec,Aperture f/6.3) It was really focused on all the objects and it shows a warm colour.In addition,all the objects were well organised in this photo.